~/runtimelab $ cat ./content/blog/inside-the-workbench.md
Inside the workbench: a tour of the stage page
Every stage on Runtime Lab is worked in one page: the stage list, the instructions and the help around them, an editor on your own repo, and the run output. Here is what each part is for, and the shortcuts that make it quick.
Open any stage and you land on the same three-column page. Left is where you are in the challenge, middle is what the stage asks, right is where you build it and see whether it passed. This post walks the page left to right, then the bits that are easy to miss.
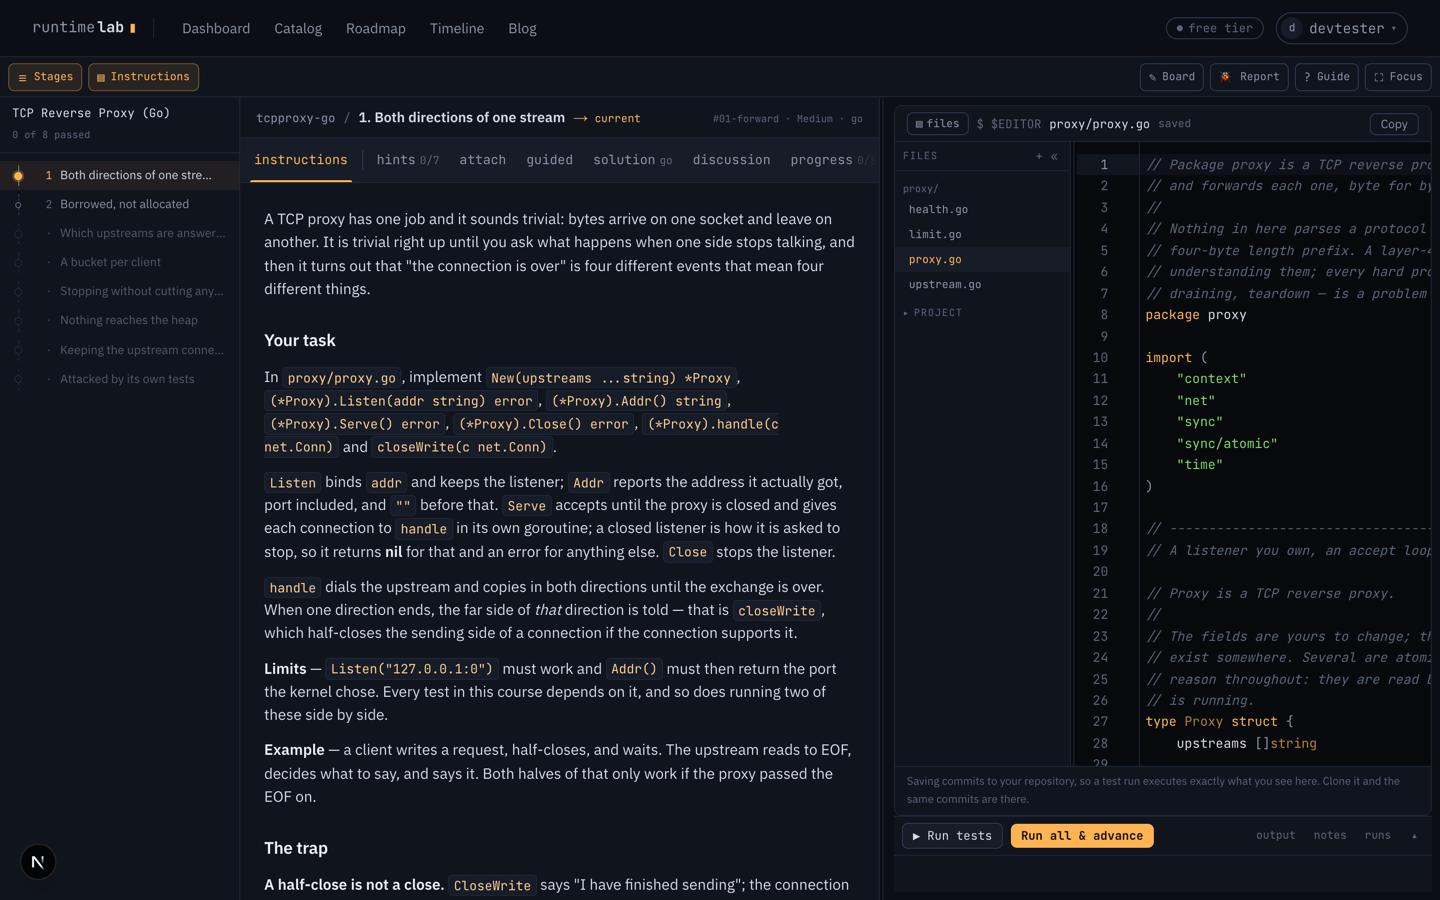 Stage 1 of TCP Reverse Proxy (Go), on a laptop.
If it is your first time on a stage page, a short guide walks the same route with the page itself lit up section by section. It runs once; the Guide button in the top bar plays it again whenever you want.
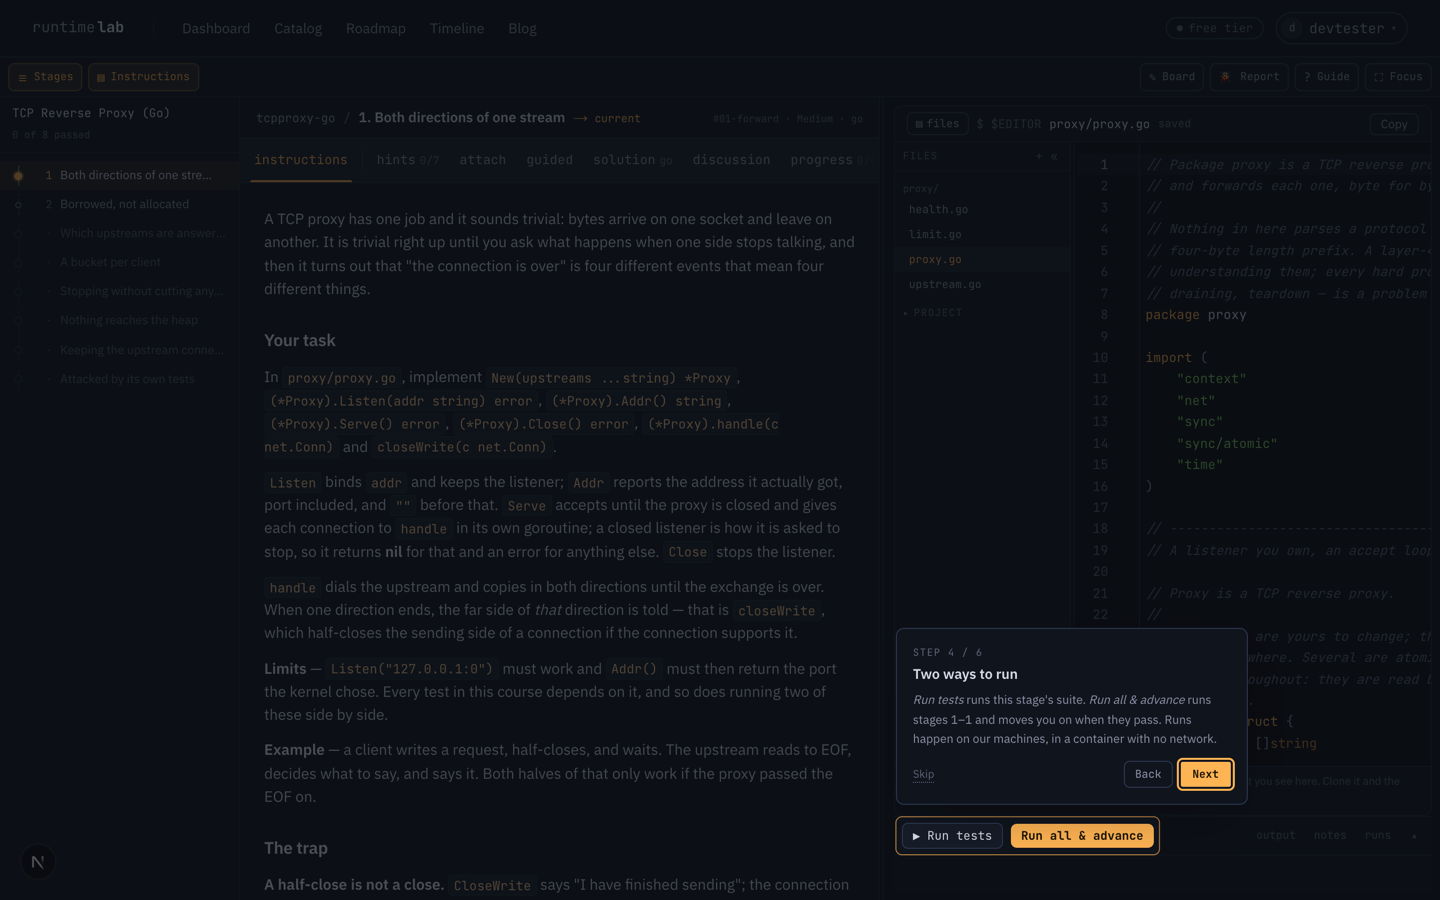 The guide dims everything except the part it is talking about.
The stage list
The left rail is the whole challenge, in order. Stages you have passed are solid, the one you are on is amber, and everything you have reached is a click away. On a long challenge the stages are grouped into parts, and a part you are not in folds to one row so a 115-stage challenge is eleven headings, not a scroll.
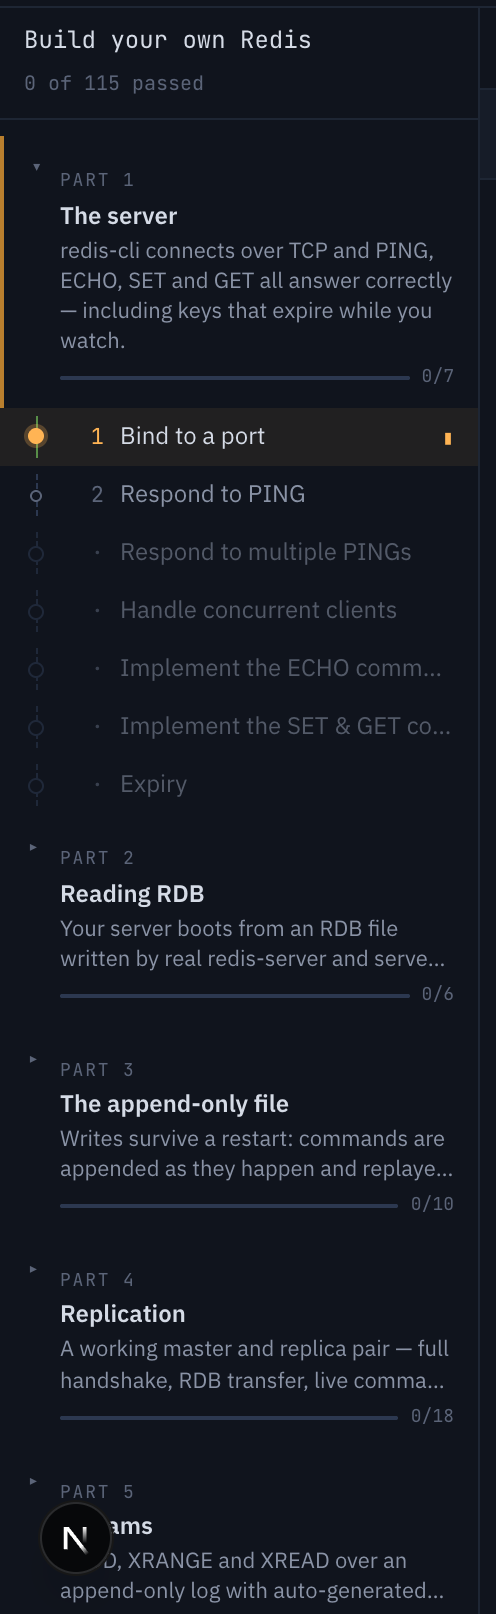
⌘B hides the rail. On a narrower window it becomes a drawer instead, so the
editor keeps its width.
Instructions, then help
The middle column is a strip of tabs. The first one, instructions, is the stage: what to build, the trap most people fall into, and how the tester will check it. Everything to the right of the hairline is help, in the order it gives things away:
- hints — a few nudges, revealed one at a time.
- guided — a prompt path you can work through with an AI assistant, for stages that have one.
- solution — our reference implementation, in your language.
- discussion — questions and answers from other people on this stage.
- progress — where you stand across the whole challenge.

The instructions and the tests are free to read and run on the first two stages of any challenge. The help around a stage is what a pass buys, at every stage including those first two. The solution has one more gate on top of that: it opens when you pass the stage, or after three failed runs, so it is there when you are stuck rather than before you have tried.
⌘\ hides the instructions when you know what you are doing and want the
editor wide.
The editor is your repo
The right column is an editor on a private git repository we host for you. The
files rail lists what you are working on; + adds a file, and the project
disclosure shows the scaffolding (the build script, the module file) that the
starter came with. ⌘⇧E puts the rail away, and you can drag its edge.
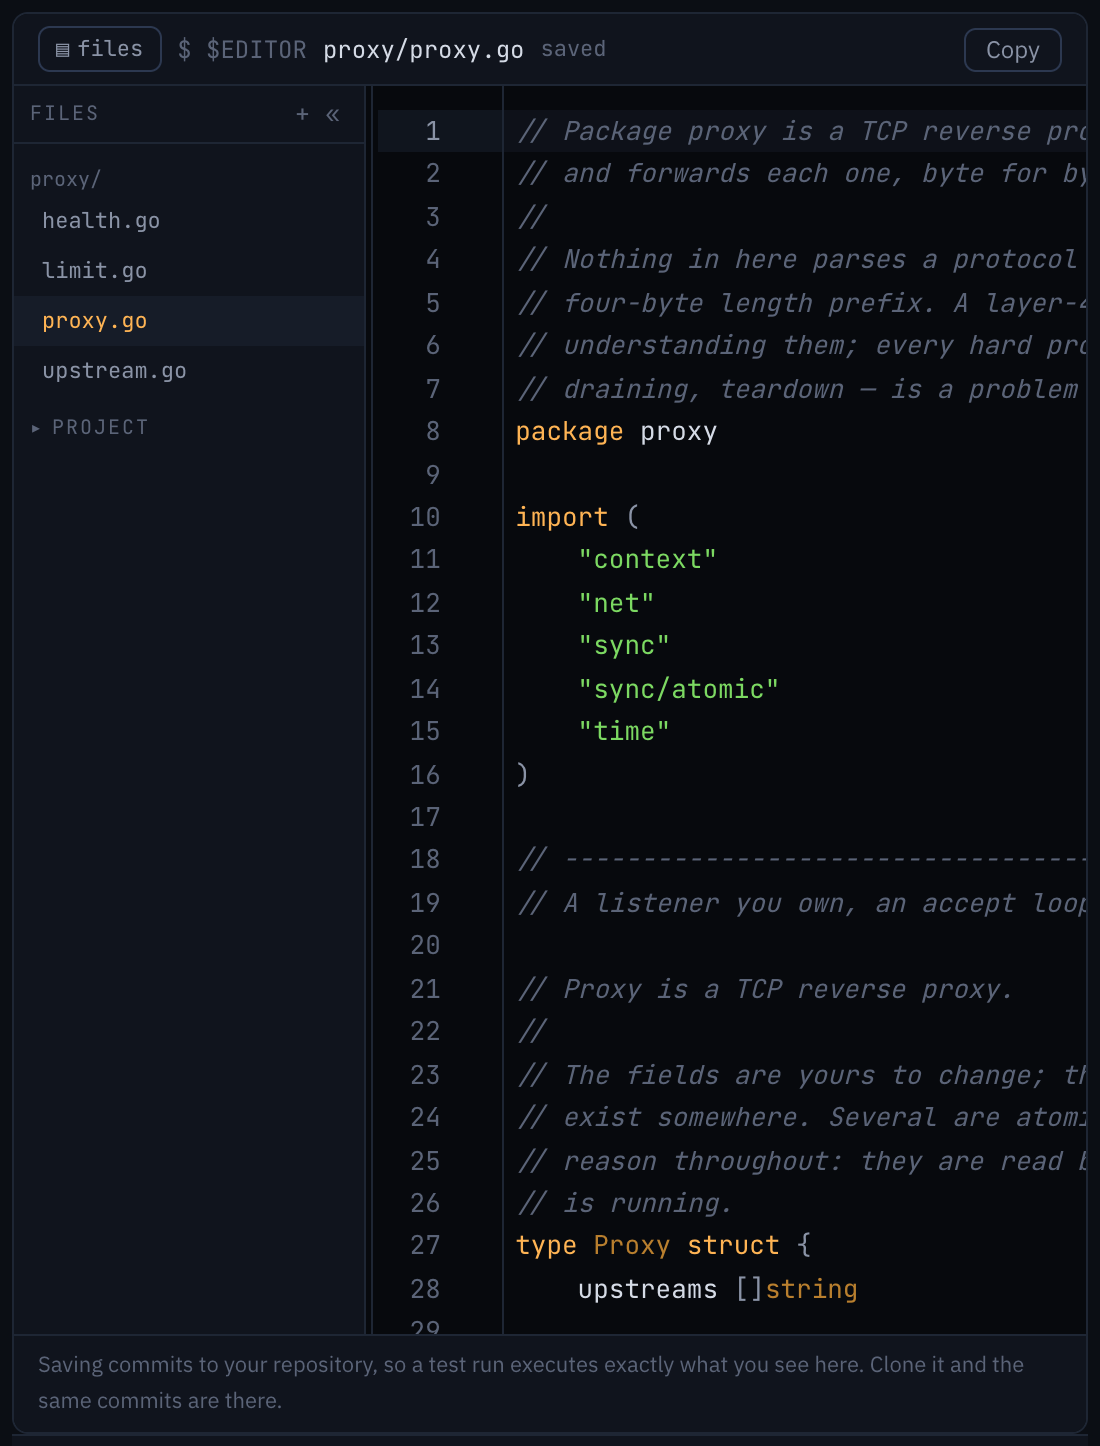
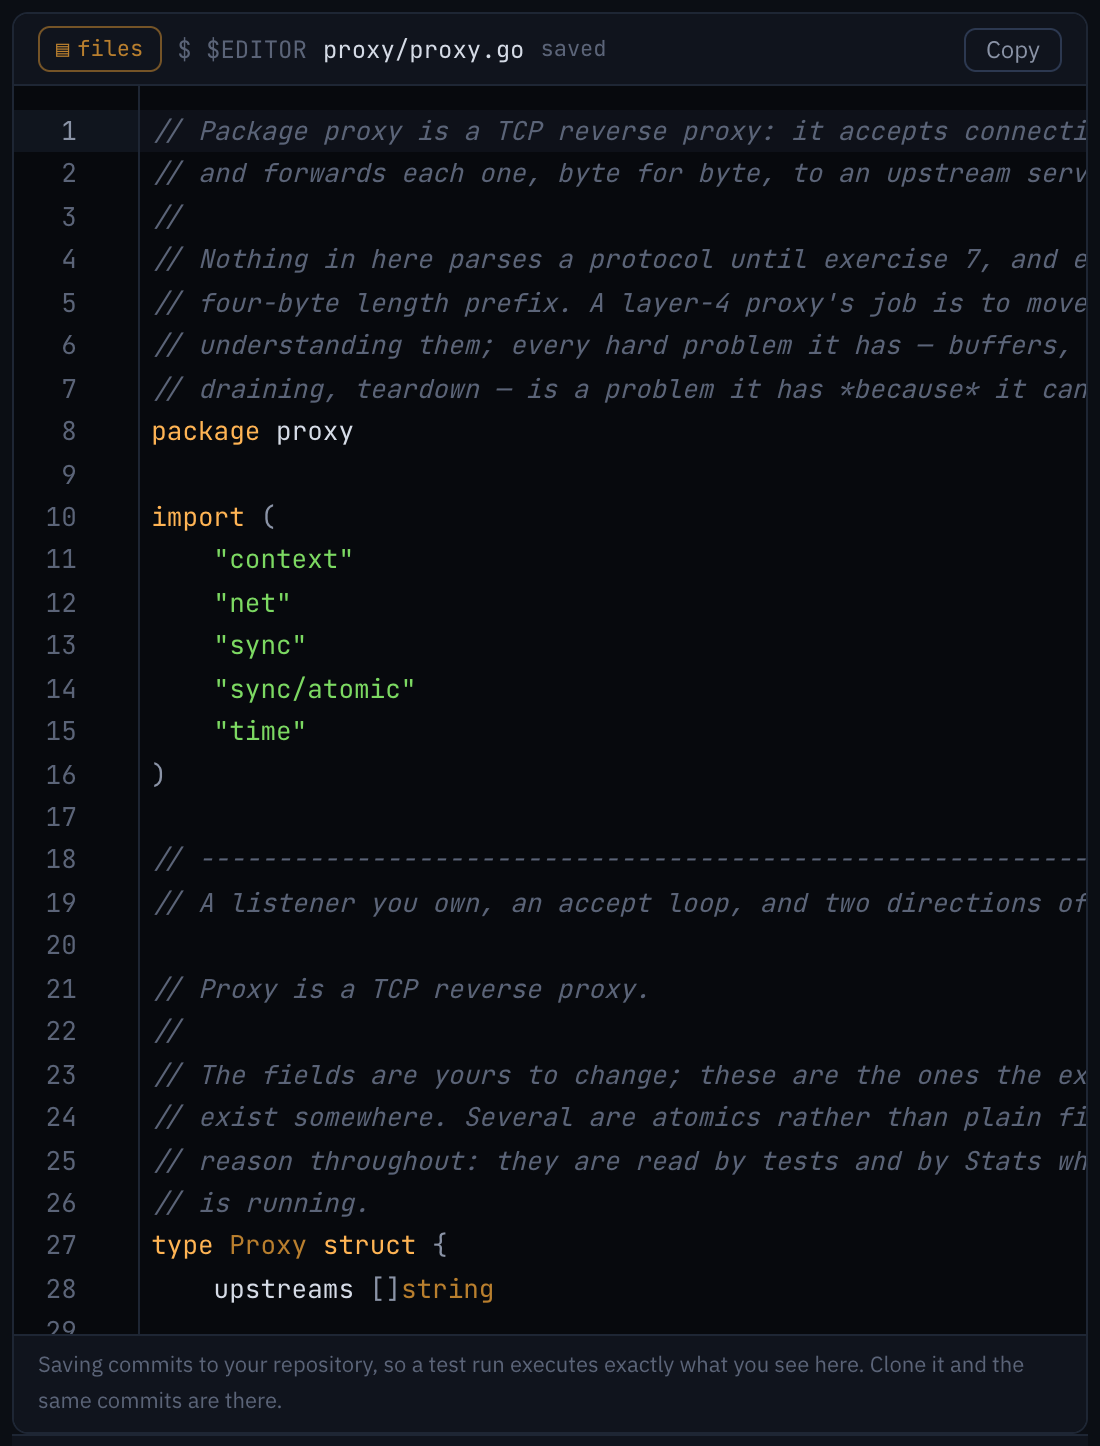
⌘⇧E, the chevron in the rail, or the files toggle in the header.
Saving is a commit. That is the whole model: a test run executes exactly the commits in the repo, so what you see is what runs, and if you would rather work in your own editor you clone the same repo, push, and get the same run. The challenge page has the clone URL and an Open in VS Code button under Work locally.
Run tests, or run all and advance
Two buttons at the bottom of the editor column.
- Run tests runs this stage's suite against your code.
- Run all & advance runs every stage from the first to your current one, and if they all pass, moves you to the next stage.

Runs happen on our machines, in a container with no network, and there is a short note beside the buttons saying how many runs you have left this hour. What happens when you press Run goes into what that container is and why it is shaped the way it is.
Output, notes, runs
The dock under the editor opens on your first run and holds three tabs.
output is the log; a compiler error in it is pinned back to the line in
the editor it came from. notes are yours, per stage, and stay with the
challenge. runs is every run so far, so you can open an earlier log and
compare. ⌘J opens and closes the dock; drag its top edge to resize.
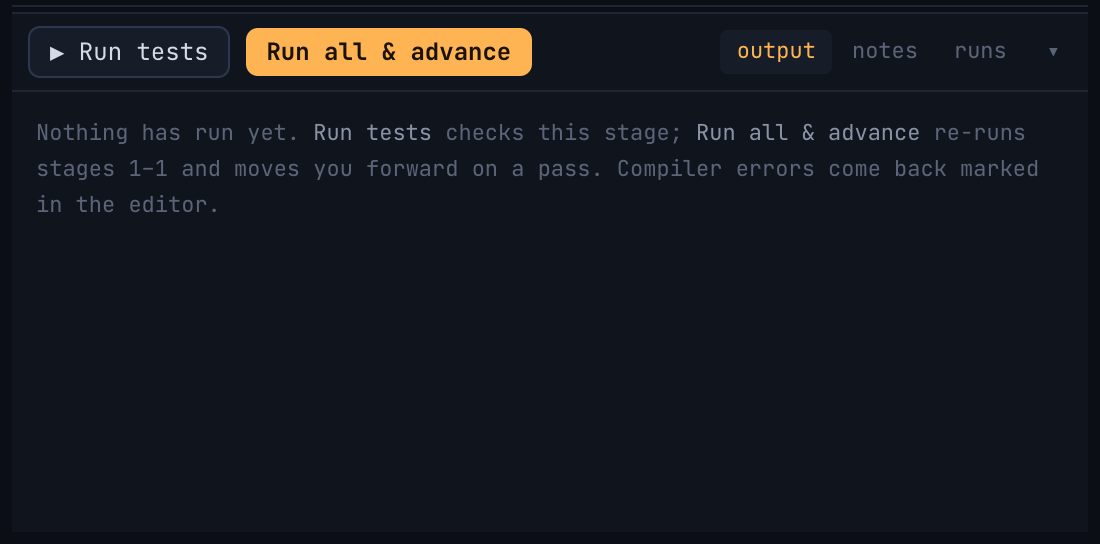
Board, Report, Focus
Three buttons in the bar at the top right.
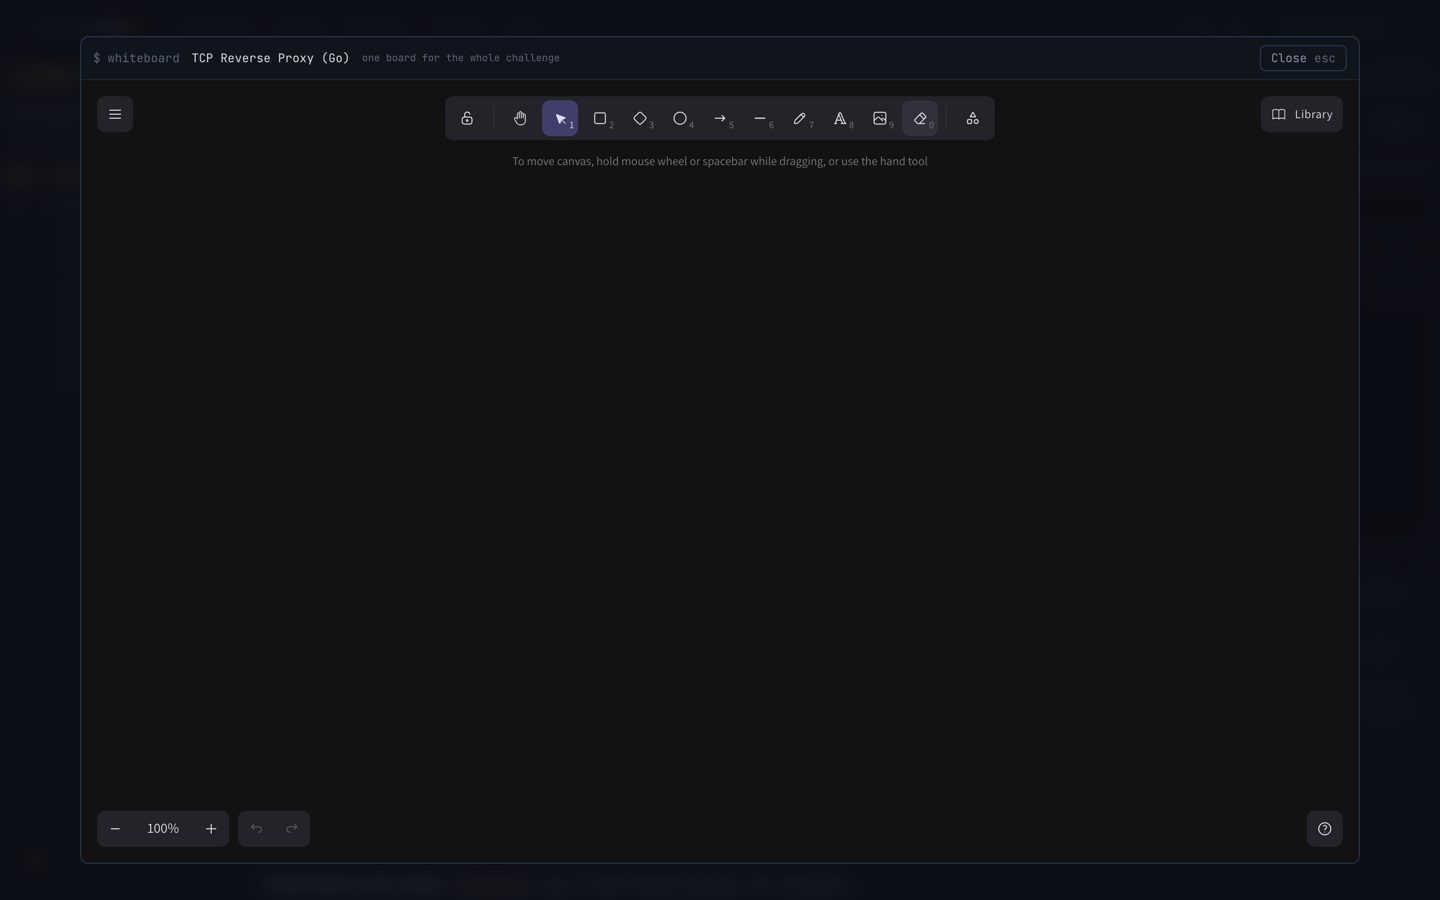
- Board (
⌘⇧D) is a whiteboard, for the stages where a diagram is faster than a paragraph. It is saved with the challenge. - Report sends us a stage you think is wrong, with the run you are looking at attached, so a report about a failing test arrives with the log.
- Focus (
⌘⇧F) hides the rail and the instructions in one go and brings them back exactly as they were.
Every panel remembers its width and whether it is open, per challenge, in your browser. On a phone the page becomes one pane at a time, with a stage / code switch at the top, because reading a spec and typing against it do not fit on 390 pixels together and pretending otherwise helps nobody.